Updated: February 15th, 2022
How to apply Kinesiology tape so it actually works.

Remember learning how K-tape works? It’s super-stretchy nature and what that is best used for? (assistance over stability). When NOT to use kinesiology tape? And how it IS NOT A QUICK FIX OR PERMANENT SOLUTION TO A YOUR PROBLEMS?

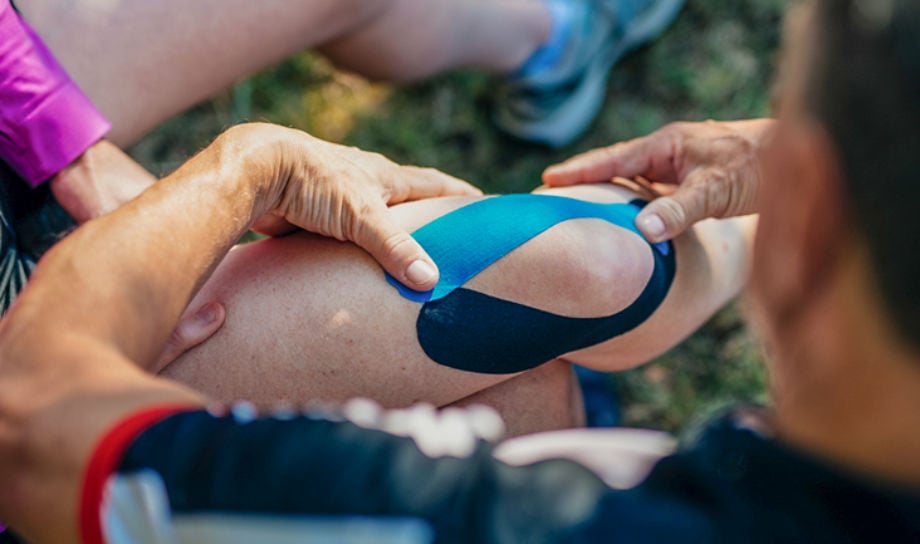
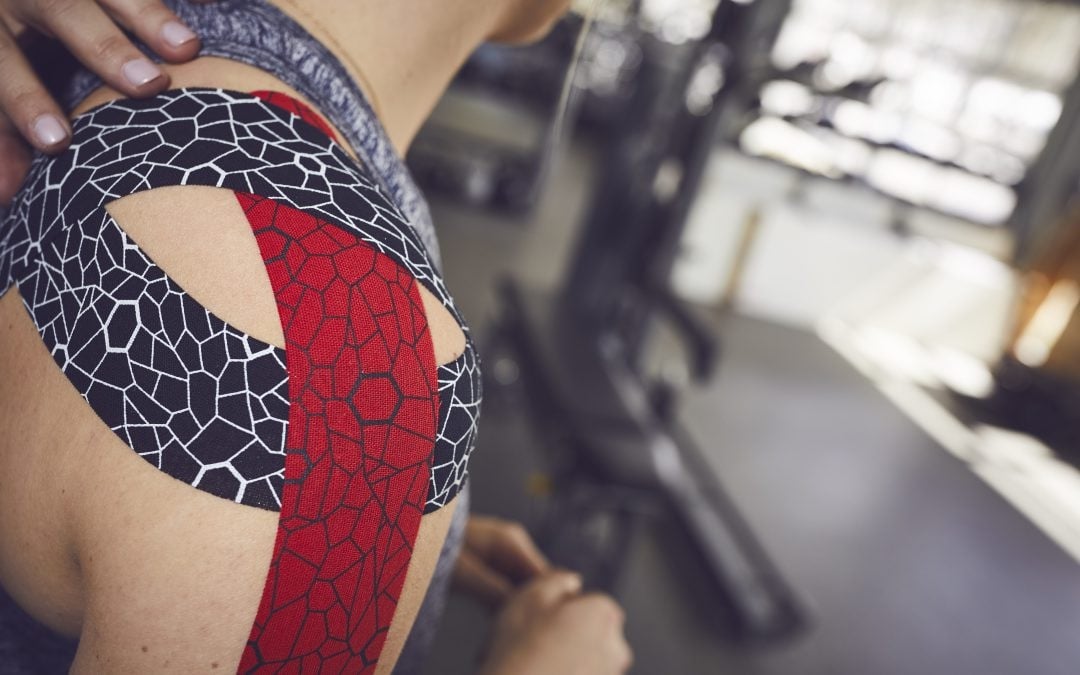
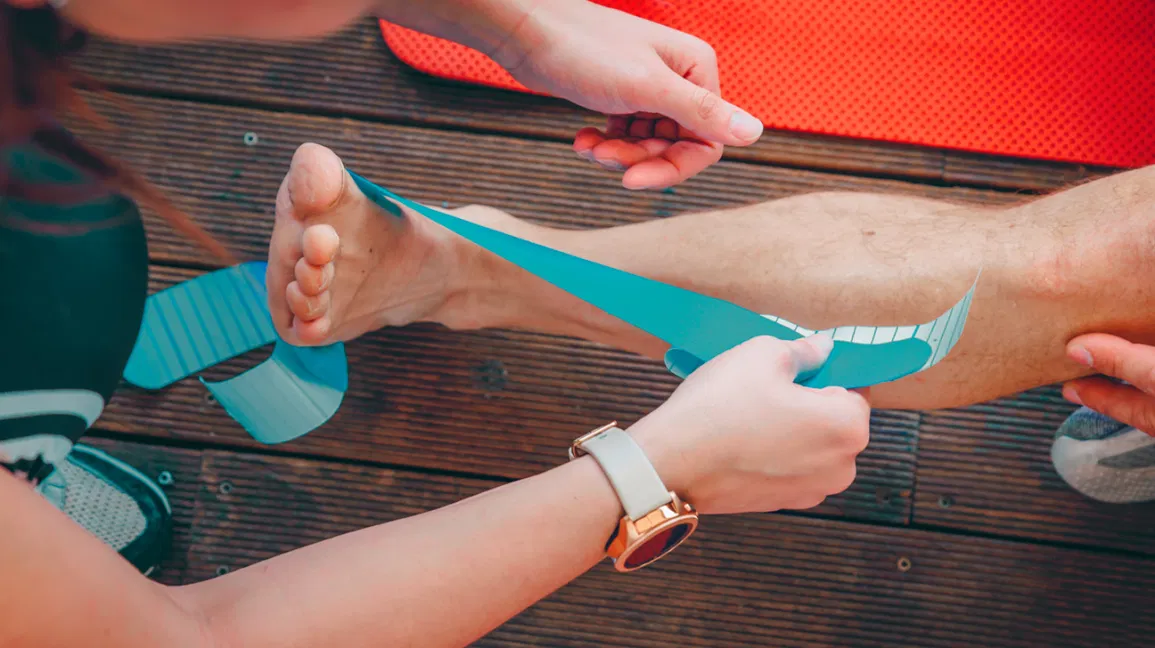
Good! Now we head onto how to apply it, because yes, technique matters!

Firstly, check the brand you have bought, whilst most major brands are latex-free and hypoallergenic, you can never be too sure with allergens. And consult with a physical therapist who is trained in the proper application of kinesiology tape before trying to tackle it yourself.

Ultimately there are so many different ways to apply the tape that will differ from person to person, injury to injury, goal to goal. So best to seek someone out for specific advice on you and your body. But should you need a little reminder here we go:

K tape application

Before you apply the tape, take these steps:

  • Clean and DRY the areas first. If you have applied moisturisers, lotions, oils or wax from manual work, this prevents the tape from sticking. Similarly, if you are out mid-run ad sweaty; dry the area before applying).
  • Optional: apply adhesive spray – I used this for athletes enduring a contact sport (so might get ripped off) or long distances such as a marathon where excessive sweat can affect the tape.
  • Remove hair – okay if you have fine hair, but excessive leg hair for example can stop the tape from getting a grip on the skin (and be painful for you, especially when removing the tape, Ouchy!)
  • Measure the area you want to tape – remember its stretchy qualities! 4-5 squares are enough for ‘usual’ muscles such a calf, hamstrings, quads on average size person.
  • Cut the edges rounded – Sharp cornered edges are likely to be snagged on clothing and pull away easier rounded ensures tape adhesive longevity.

Video: golden rules of K-tape

Cutting ktape

Now onto the general application of kinesiology tape:

  • From the strip, keep the paper over the glue but tear away the top and bottom inch. They are your ANCHORs, to hold the tape in place.
  • Remove the tape from an anchor and apply it with ZERO stretche on the insertion area of the targeted muscle.
  • Rub the anchor with the slippy side of the paper to activate the adhesive.
  • Keep fingers on the anchor and apply a stretch to the tape – the paper will come off as you stretch it, so just keep it out of the way as you go. For most applications your want 75% stretch. To find this, simply stretch the tape as far as it will go and then ease off about 25%.
  • At 75% stretch you lower the tape to the skin and smooth over with your hand that was holding down the anchor – You do not want ridges or bubbles in the k-tape.
  • Apply the top anchor exactly how to did the first, ZERO stretch.
  • Vigorously rub the whole tape with the slippy side of the paper (it won’t pull at the tape like your hand might) for about 20-30 seconds to activate the adhesive glue.
  • How to apply K-tape videos:
    KT tape
    Rock tape

Stretch ktape to 75%

Tape is on, run or rehabilitation session complete, and now it’s time to remove the tape:

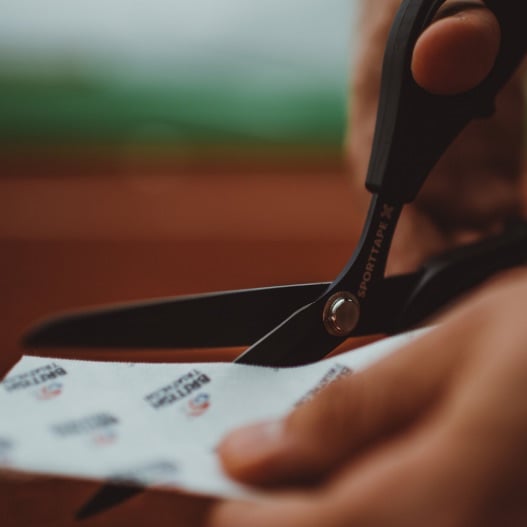
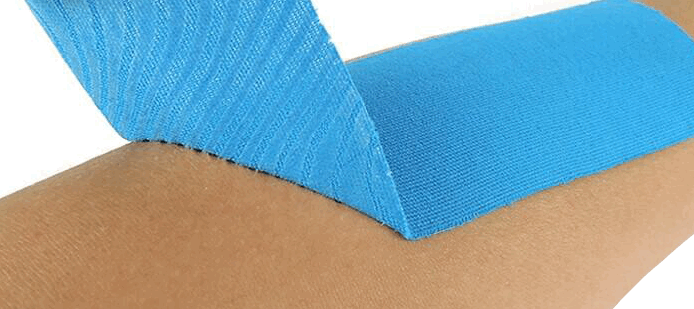
Remember the adhesive glue will last several workout sessions and showers so there is no harm in leaving it on until it starts to come off by itself. However it might need a little hand to get off without any pain or breaking skin, here’s how:

  • Apply oil over the tape to loosen its grip on the skin (any massage oil, baby oil or lotions will work).
  • Remove it slowly, don’t rip it off.
  • Press down on your skin to separate it from the tape.
  • Pull the tape back against itself.
  • If your skin is damaged or irritated don’t re-apply the tape, seek medical advice.
  • Tape removal videos:
    Strength tape
    KT tape

Removing ktape

How to wean yourself off the tape?

I mention a lot that this tape, any tape for that matter is NOT a quick fix or permanent solution, and becoming reliant on it is a cause for concern. So how do you ‘come off’ kinesiology tape reliance?

It’s easy to become reliant, after completing your injury rehabilitation, mentally you may feel unsafe without it (don’t worry, I’ve been there too) so training your mind and body to trust the fact: the tape is gone for good reason, because you are strong enough now, some tips on how you can start to wean yourself off it:

  • General application is 75% stretch, so lessen the stretch over time. Down to 50%, 25% until you can exercise without the tape needing a stretch at all.
  • Don’t apply it for shorter runs or workouts. Trust you can get by.
  • Continue with rehabilitation exercises such as balancing, single-leg work – it’s key to confidence.
  • Instead of applying it before your long run, take pre-cuts with you should you need to apply it mid-run for pain.
As an Amazon Associate we earn from qualifying purchases

Recommended reviews

Saucony Cohesion 15 Review

The Saucony Cohesion 15 has some serious "Dad Shoe" vibes. I was sent a boring ... (Read expert review)

New Balance FuelCell Rebel v3 Review

The New Balance FuelCell Rebel v3 is a lightweight daily trainer with a ... (Read expert review)

New Balance Fresh Foam X 880 v12 Review

VERDICT: The 880 is a great classic trainer with a modernized ride that ... (Read expert review)

Hoka Mach 5 Review

The Hoka Mach 5 is a lightweight, smooth-riding trainer which can fill a ... (Read expert review)

Adidas Adizero Adios Pro 3 Review

The Adidas Adizero Adios Pro 3 is a long-distance specialist. Its highly ... (Read expert review)

Reebok Nanoflex TR Review

The Reebok Nanoflex TR is one of the best budget training shoes on the market, ... (Read expert review)