


Injured? How to time your rehabilitation perfectly, and make the most of your resistance bands.
Advice from a sports injury therapist with over 10 years experience with an array of sporting injuries

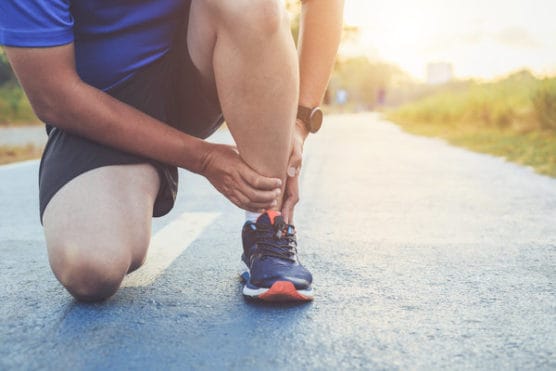
Committing to a carefully planned out training schedule, albeit couch to 5k or marathon 12-week plan, or even 6 months ultra running programme, you are almost certain to run into an injury somewhere along the line. For some it is at the beginning, being too enthusiastic and doing too much too soon. However for others, it might come mid-programme where muscular imbalances have started to take their toll on your body; the repetitive motion causing shin, knee, hip and low-back pain for example.
When groaning pain or injury strikes, what is the first thing you consider doing? Rest for a few days and hope it eases by itself? Stretch some more? Or is it to work on the problem head-on? Well, as a sports injury professional with over 10 years of experience with injuries, here is what you need to do, to help your body improve and get back on track for race day…
DISCLAIMER: Although I am a professional sports injury therapist, I am not YOUR therapist so take advice as a generalisation. If you require further assistance or specific injury advice please seek a medical professional in your area. This information is to be used as a guide ONLY.

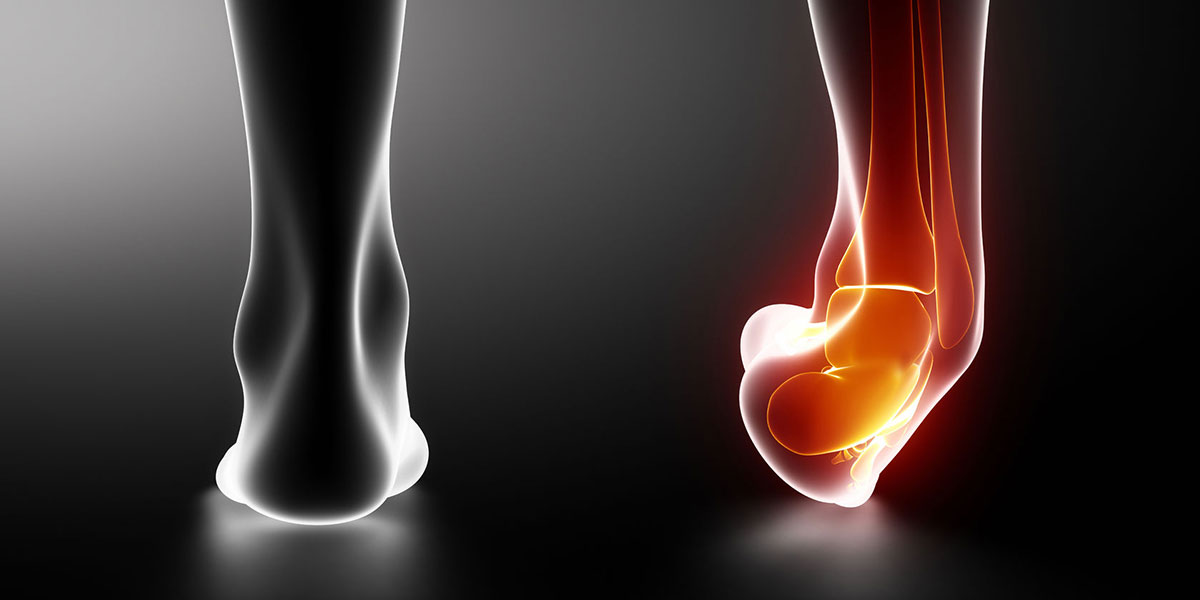
When an injury occurs in the body, science proves there are 5 cardinal inflammatory responses:
When inflammation is present (think of a rolled ankle – ankle sprain) it gets puffy, bruised, painful to move, generates localised heat and is usually limited in dorsiflexion and plantarflexion movements – pointing toes and flexing feet).

Generally speaking, this inflammation response lasts for a ballpark of 3 days, when the next stage of healing starts. And during this time, to help assist your body to heal you will need to:
Within those initial 72 hours, it is wise to stick to RICE and not ‘try and push through’ it will make the injury worse – continuing running on an injury will NEVER end positively.
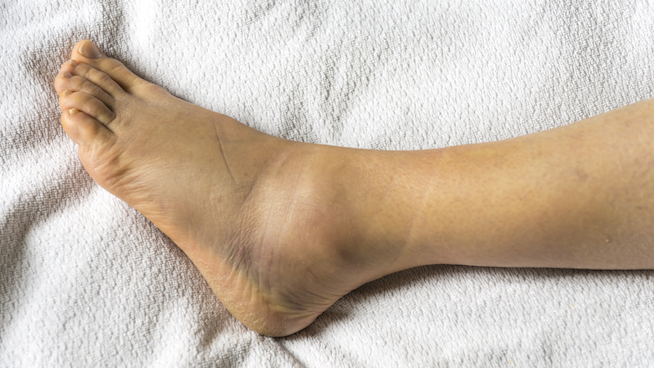
You’ll start to notice the signs and symptoms of inflammation are dying down – it’s less painful, perhaps some ROM has returned, redness has disappeared along with the heat – yet some swelling may stick around, especially around the ankle; we can blame the gravitational pulls for that.
The first thing we need to do is restore to ‘full’ ROM, and that is to return the joint’s flexibility to a pre-injured state, not sure what that was? Comparing your injured left ankle to your non-injured right ankle is a decent start.

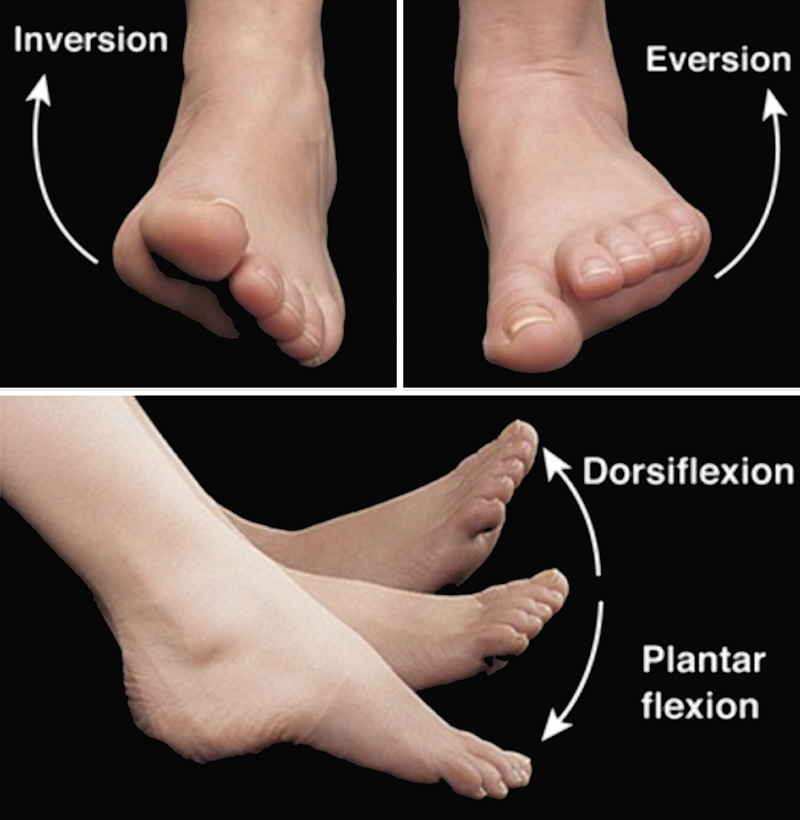
The movements to focus on for your ankle will be:

And at this stage of injury, we can utilise resistance bands, manual therapy, and controlled, LIGHT stretching. The idea is to apply a gradual load onto the damaged structures so they heal with the ability to withstand daily demands.
To start rehabilitating your running injury (if it is severe, please seek medical assistance) a good tip is to start with a resistance band work, however, rules apply:

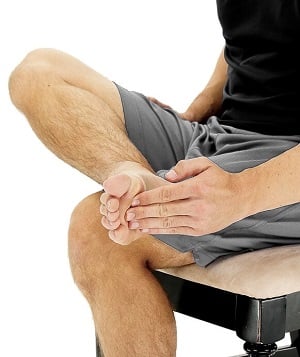
As runners, ankle sprains are the bane of our lives. It’s so easy to roll your ankle on a curb, tree root or loose stones when your out and about. They can be quite painful and inhibiting to your training progress – so it is vital we get this right, from the start!
Once you are comfortable bearing your own body weight, it is time to start isometric exercises. This is to contract the muscle and work the surrounding areas without movement. Such as pointing your foot against the resistance of your hand, the other foot, resistance band or a ball, even inverting and everting your foot against a door frame will work. This gets the damaged area working without moving. Doesn’t seem like a lot, but it’s the base we are building your fitness back from and skipping the basic steps will only delay your healing.

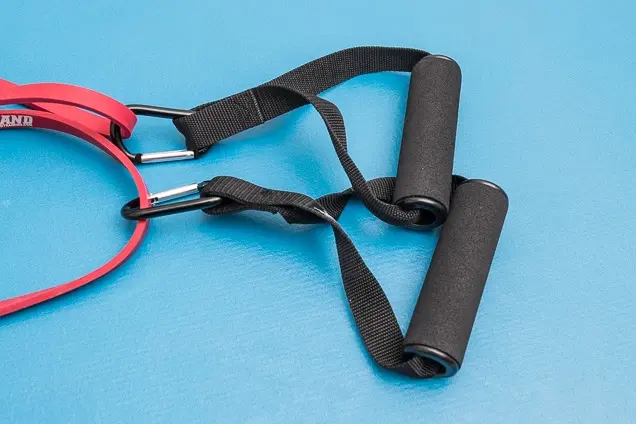
Next, we can use light resistance, in my favourite form: resistance bands. You will never regret buying some bands, they are often very cheap and incredibly versatile. Once you have finished with your rehab, there are serious gains to be made from them as a workout to strengthen your running game.
With your ankle? We target the same movements from isometric training (plantar flexion, dorsiflexion, eversion and inversion). The bands will provide some much needed light resistance in all four directions gradually rebuilding the strength and support of the surrounding muscles and tendons (as well as aiding your lymphatic draining of any lingering swelling).
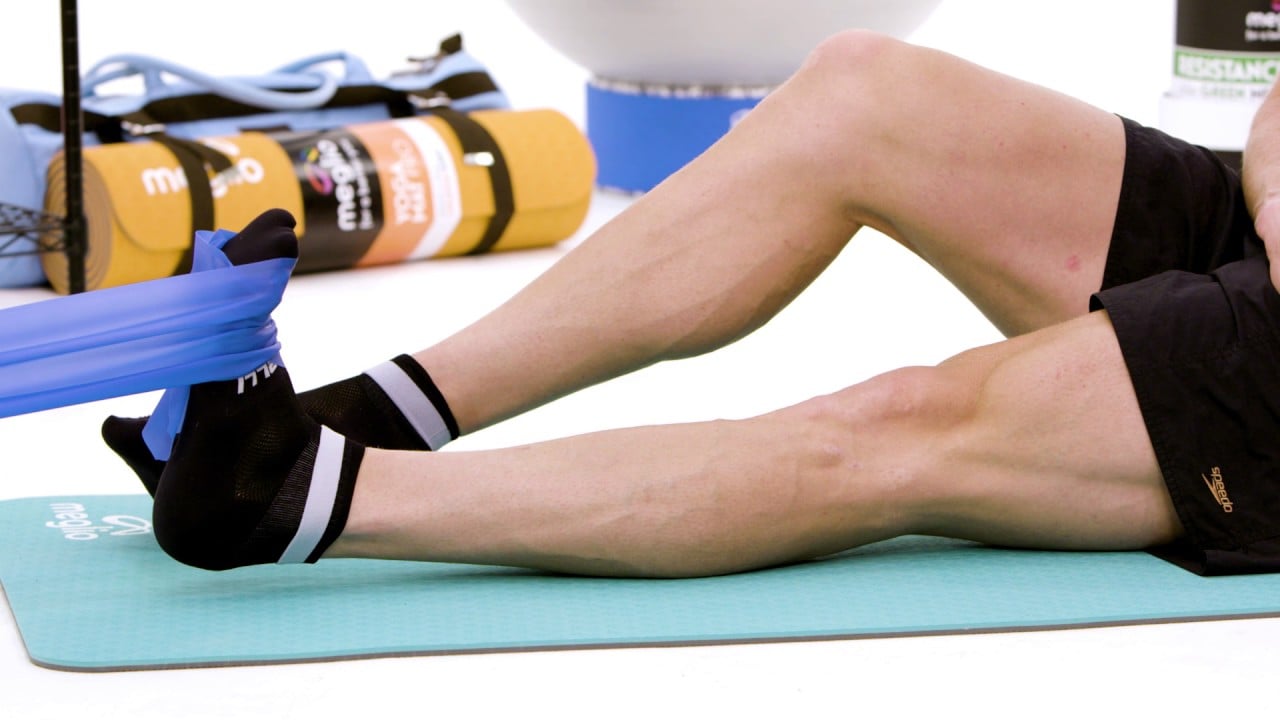
Place your foot in the middle of a stretched band. Holding and controlling the resistance with your hands, start to point your foot to the floor as far as you can (without pain!), directly into the band, slowly return to the start position to go again.

Tie the end of the band around a stable piece of furniture, gym equipment or have a friend hold them. Place the top of your foot in the middle of the stretched band. Starting position in plantar flexion, flex your foot against the band of resistance to as far as you can. Slowly return to the starting position to go again (you might find that your knee wants to bend at end range dorsiflexion, that’s okay, mine does too).

Same set up as dorsiflexion except turn your body 90 degrees from the piece of furniture or friend holding the end of the band. You want to have your little toe closest to the ‘anchor’ (where/whatever the band is attached to). Start in a relaxed foot position, then slowly turn the sole of your foot away from your band anchor, and towards the other foot. Very slowly relax and return to the starting position.


This is often the most painful as with an ankle sprain there is likely damage to the personal muscles (those on the lateral side (outside) of the lower leg), so proceed with caution. In the early days of injury, you may want to stick with isometric until the pain has subsided.
The set-up is the same as inversion, BUT the opposite way around. Turn your body 90 degrees to the anchor of the band (your big toe closest to the furniture or friend holding the resistance band). Where the outside of your foot is in the middle of an outstretched band. Start relaxed foot position and then slowly and carefully turn the sole of the foot away from you, slowly relax and return to the starting position with ease.


For all movements, it is advised to stick to the same color band for all exercises and move up only when strong in all directions – to limit any muscular m balances and impeding injuries further on down the line.
What’s the next stage of your rehabilitation journey? And how will the bands get you there? Read on…
DISCLAIMER: Although I am a professional sports injury therapist, I am not YOUR therapist so take advice as a generalisation. If you require further assistance or specific injury advice please seek a medical professional in your area. This information is to be used as a guide ONLY.


